February 23, 2018
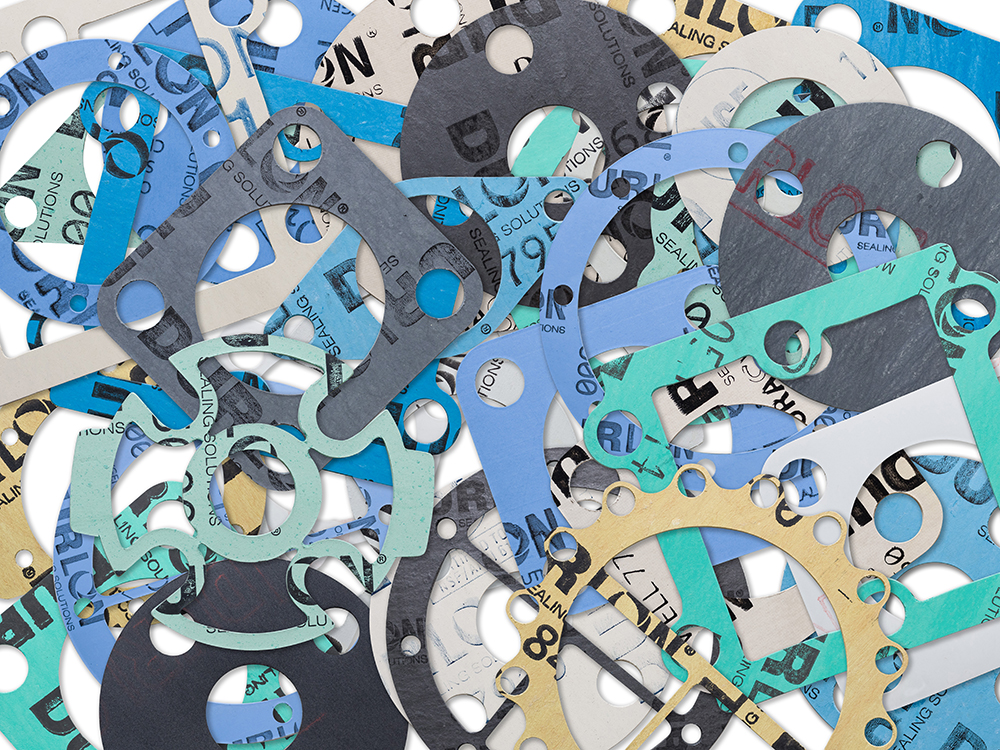
Gaskets come in all shapes and sizes: round, oval, rectangular etc. Accurate measurement size is important because it ensures that the gasket will fit properly and will not get in the way of the installation. Additionally, measurement is managed by QC, assuring that the gasket will comply with either the customer specifications or tolerances given by specific cut gaskets standards such as ASME B16.21 & EN1514-1. To help illustrate some of these points I am going to give you two specific examples of what to measure and what to avoid doing.

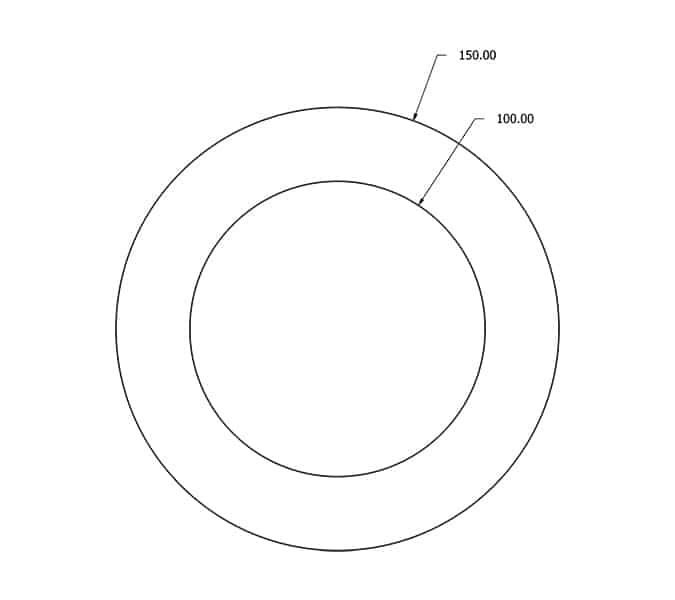
Ring gaskets are quite simple to measure because you only need to verify two measurements: Inside Diameter (ID) and Outside Diameter (OD). Ring gaskets are generally used in raised face (RF) flanges as the gasket is centered inside the bolts. Generally, it is not recommended to use ring gaskets in full face flanges as they are thinner and more fragile. Since the ring gasket OD does not line up to the edge of the flange, any bending of the flange (flange rotation) caused by tightening bolts could result in severe damage.

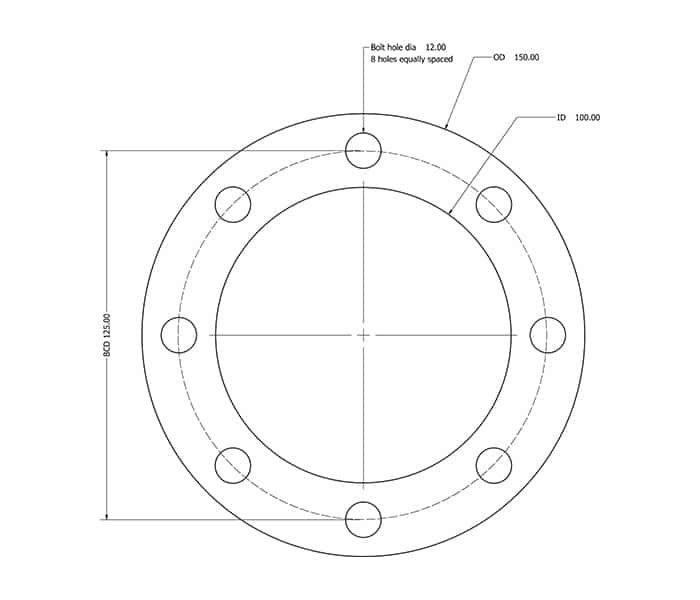
Full face gaskets are a bit more difficult to measure because there are five things that you need to verify correctly: Inside Diameter (ID), Outside Diameter (OD), Bolt Circle Diameter (BCD), bolt hole diameter and the number of total bolt holes.
Full face gaskets are commonly found in flat faced flanges but are also occasionally used in raised face (RF) flanges. For ease of use in RF flanges, installers insert the gasket between the two flanges and insert two or more bolts to align the gasket before installation. Although using a full face gasket in a RF flange adds cost to the installation, this minimizes the gasket from being improperly centered and makes the installation process easier.

Measurement Methods
The most common hand tool used for measurement is a tape measure or ruler. Either can easily allow the person to check the ID and OD of the gasket by visually verifying the dimensional increments on the tool. Bolt holes and the bolt circle diameter of a gasket are a little trickier; however consistent measurements can be obtained with a little practice. These types of measurement tools should not be used when high precision measurements are required.
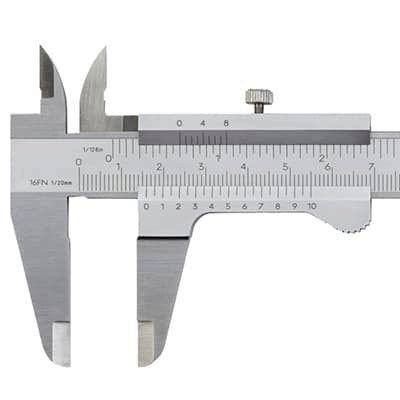
Vernier Calipers are another handheld tool that are much more accurate than rulers and tape measures. The digital read allows measurements to as low as 0.001” increments. Vernier calipers come in various size ranges, so if you have range of gaskets sizes to measure, there is a good chance that may need two or three sets to cover the full range of sizes that you need.

The two methods I have listed above both have one major disadvantage in common when it comes to measurement – human error. When trying to measure gaskets, they can become “egg shaped” or oval. The simple way to eliminate this error is to use a jig or a pass/fail fixture that allows you to insert the gasket without having to physically measure it. If the gasket fits, it passes and if the gasket does not fit then it is rejected. The down side to this type of fixture is that it can be costly to make and you will need a fixture for each individual gasket size.
So there you have it! I hope this gives you some oversight on what to look for, or consider when determining gasket measurement.
